It’s been a fun week of adventuring for my awesome rubber chicken! I’ve decided to change her title to a WORLD TRAVELER MASCOT. Birdee is my newest rubber chicken because, may he rest in peace, Klondike passed away from a broken neck. However, while he was with us, he sure had fun in France, Germany and a few other locations in the USA!
Since I can no longer travel like I use to, people are lining up to take Birdee on her next adventure! Lucky bird! Honestly, I’m excited about it as much as Birdee is! I have to finish crocheting her new backpack to get it ready for her next adventure. I’ll have to “renew” her passport too. *wink*
Over the past week, she had her first international flight to Cozumel! You’re probably wondering why I have a rubber chicken, that acts as a “Flat Stanley,” if you will. It makes me feel like I’m experiencing the vacation in a small way. It just works well for me… trust me. It also gives me great joy to see all the pictures coming in from Birdee’s vacation adventure. My husband bought my first rubber chicken YEARS ago and I named it Poke. So, it all started with Poke and the roadtrip mascot was born.
This time, my sister volunteered to take Birdee to Cozumel. She’s not shy about carrying a rubber chicken around with her in public. Sometimes, she stuffs my rubber chicken in a backpack to carry around but that’s ok! What an awesome sister, right?? BIG *HEARTS* to her! Especially since every time Birdee is squeezed, she screams REALLY LOUDLY. lol!
Birdee experienced some daring and exciting things: Flying in an airplane, boating, scuba diving and then got seasick. Poor Birdee. I hope she feels better soon! Below is a slide show of the pictures of her big adventure. I hope you like them and put a big smile on your face as it did mine.
Next post will I will be updating you on what’s going on with me health wise. It’s been a little overwhelming. So that’s why I haven’t posted about it yet. However, I think I’m ready to discuss it now. *big hugs* I hope you are dealing with the heat safely. Don’t forget it’s almost time for a Flu Shot! Yay? lol!
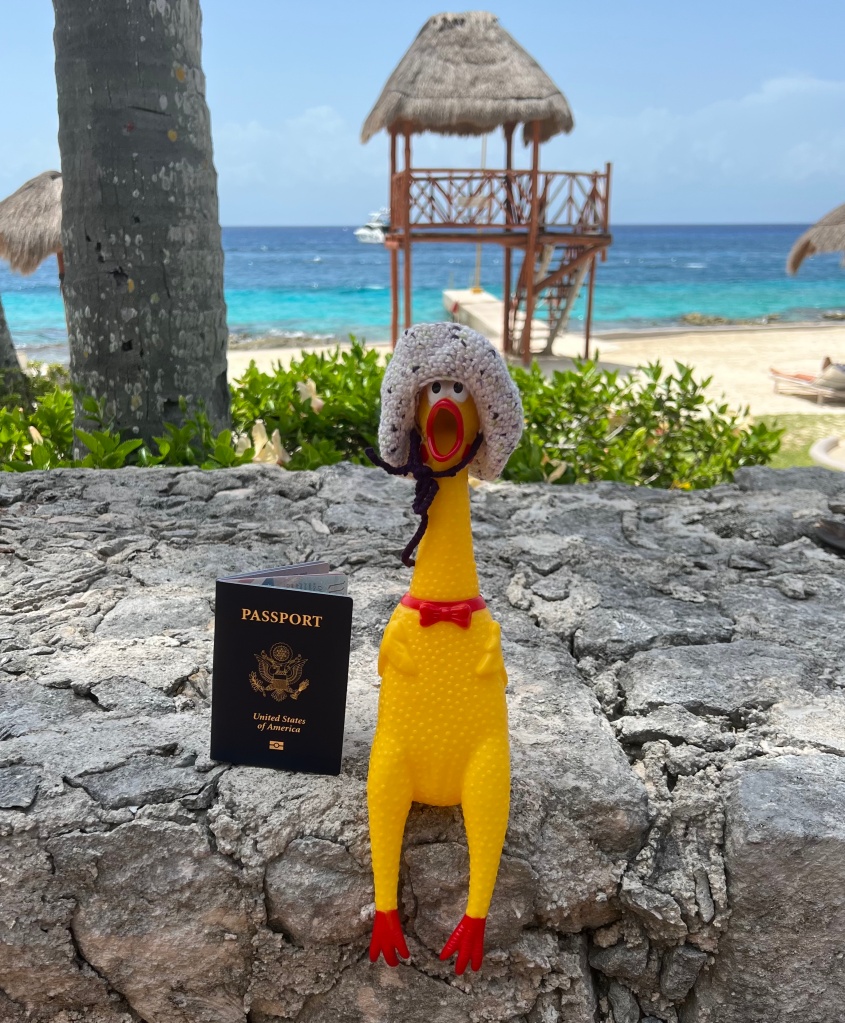
Birdee has arrived in Cozumel! Birdee has just arrived in Cozumel and seen the ocean and beach! She is my World Traveler Mascot. Thanks Birdee for going places I can not go! 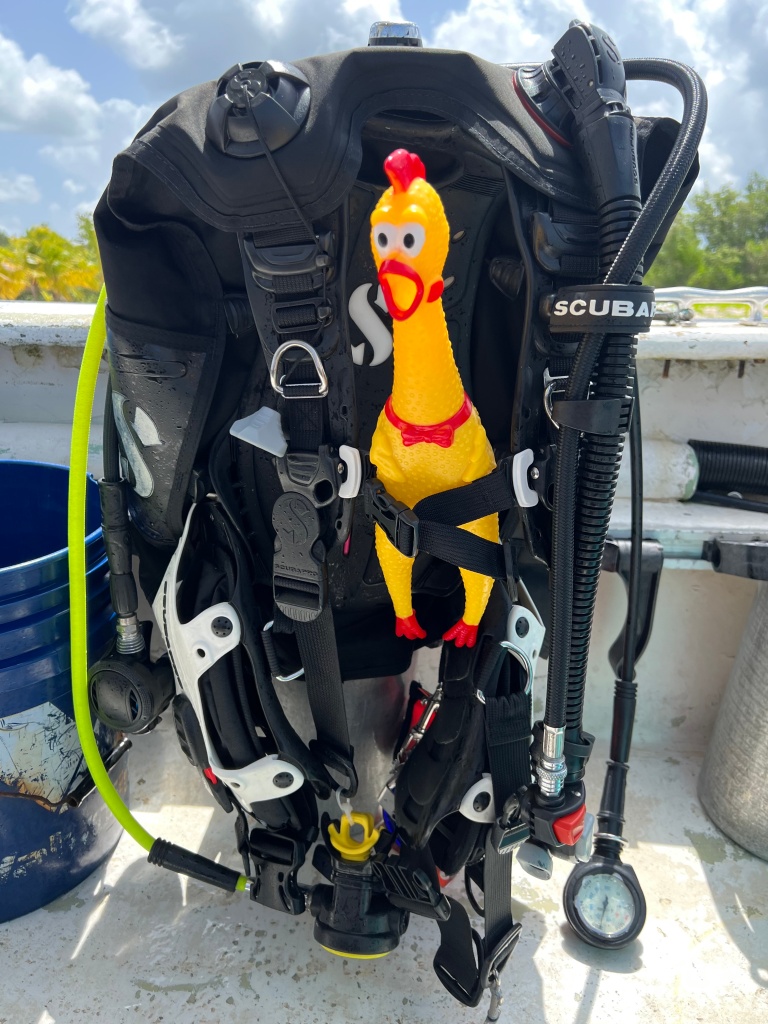
Birdee looks a little anxious trying on the scuba gear that looks way too big for her. 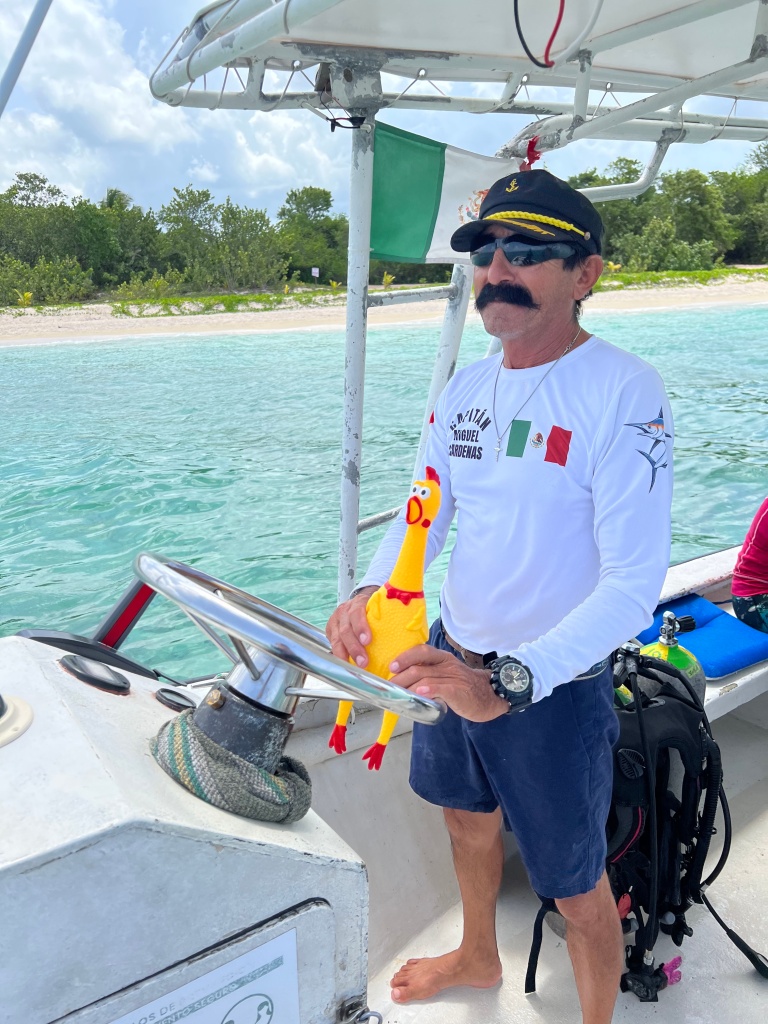
The Captain allow Birdee to steer the boat! Whoa what a cool captain! 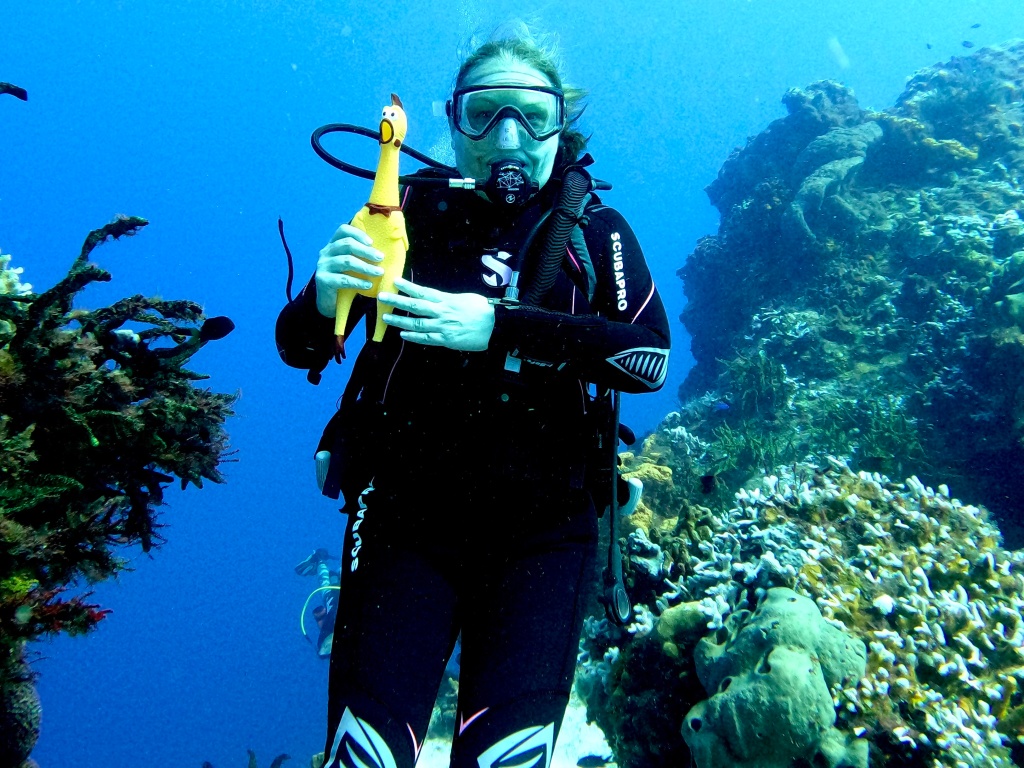
My sister diving with Birdee! Wow what an adventure!!! 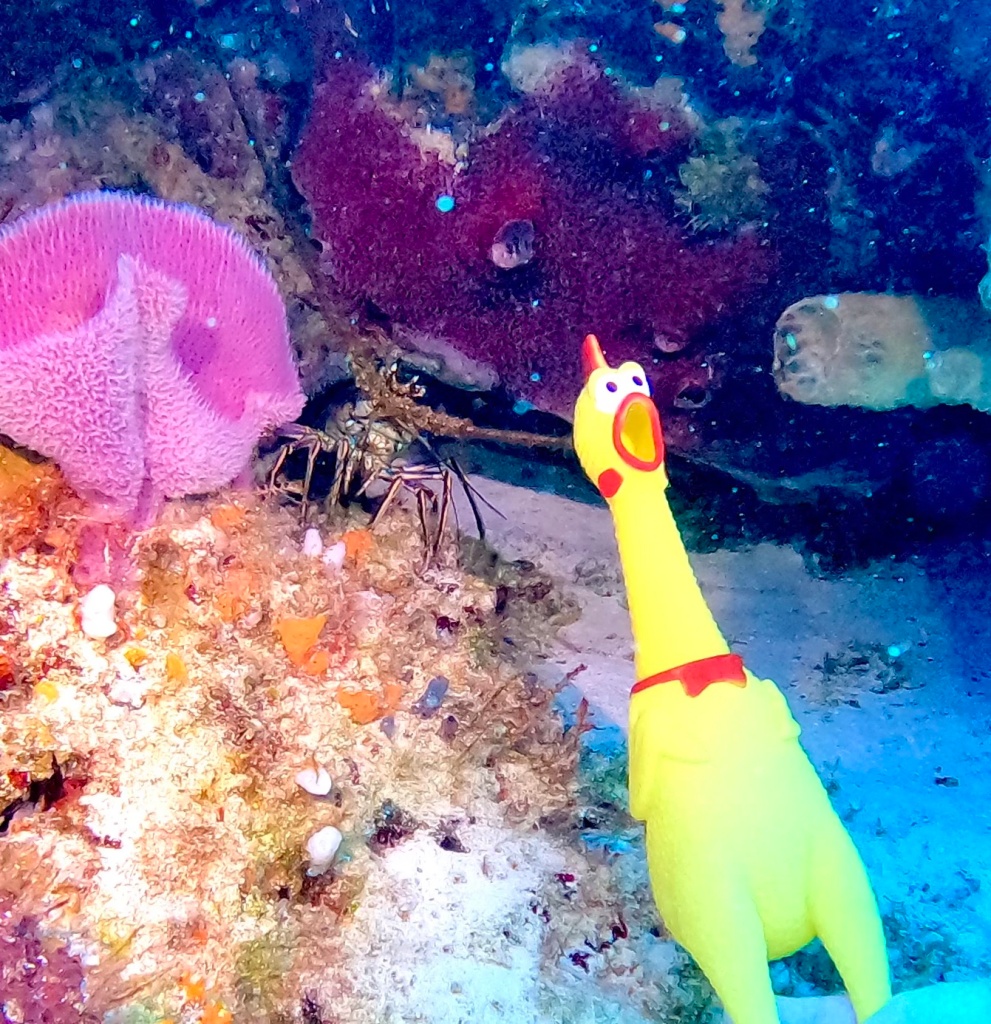
Birdee is totally amazed with all the coral and look at that huge lobster!! 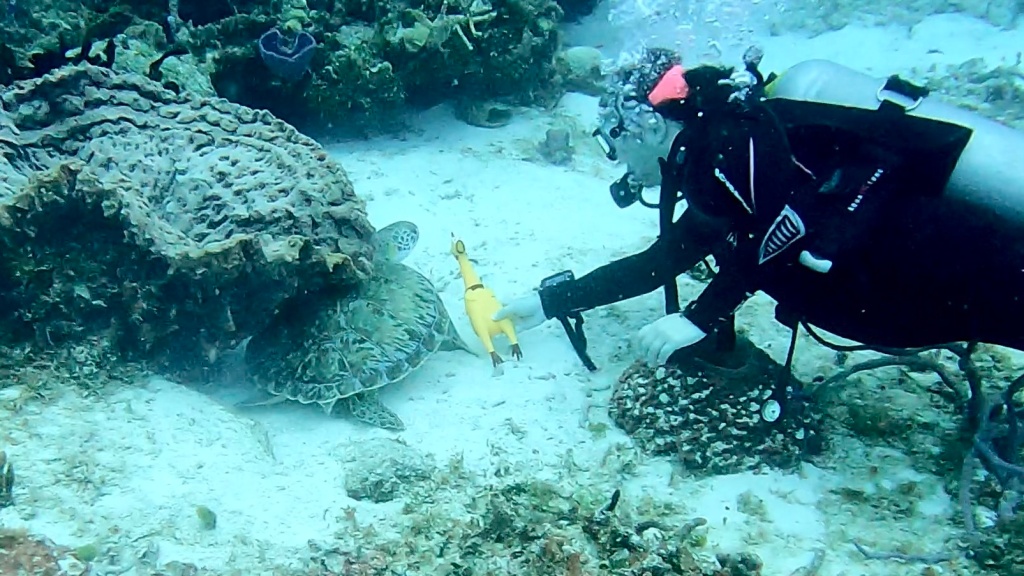
Birdee said “squawk” (that’s HELLO in Birdee speak!) to the big turtle! 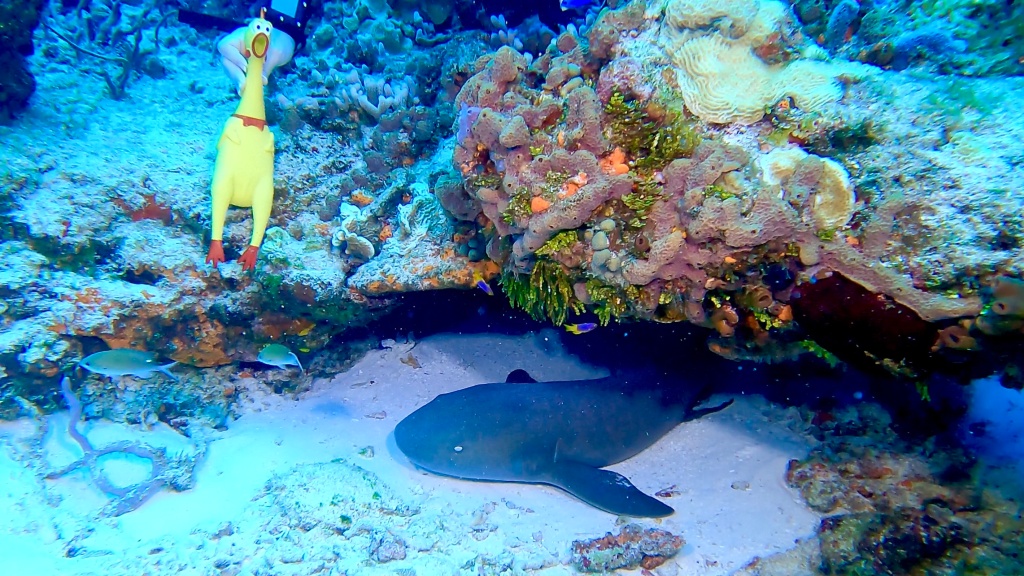
Birdee really close to that shark. Now what???? 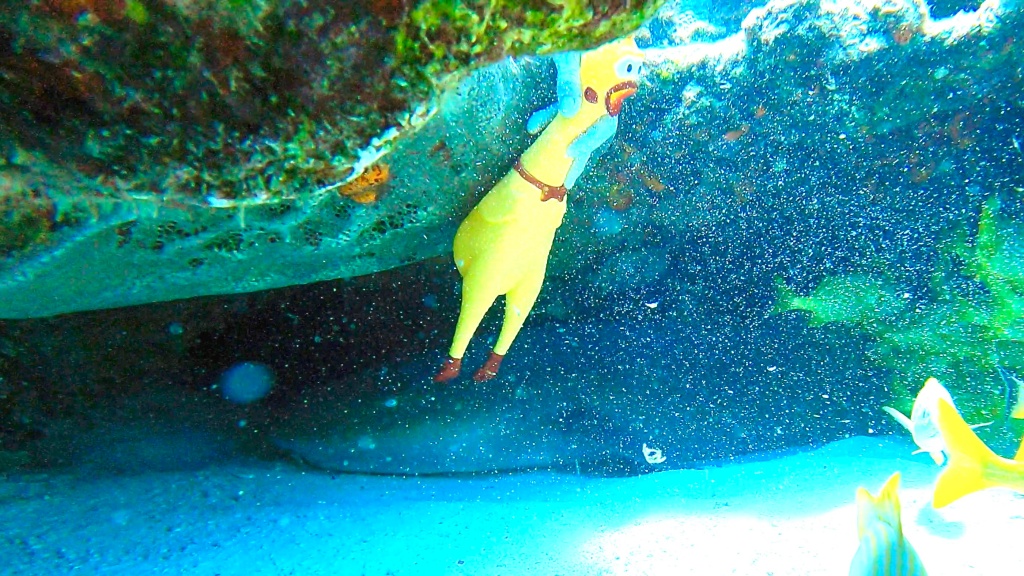
I think Birdee was trying to float away from the shark who’s in the background. 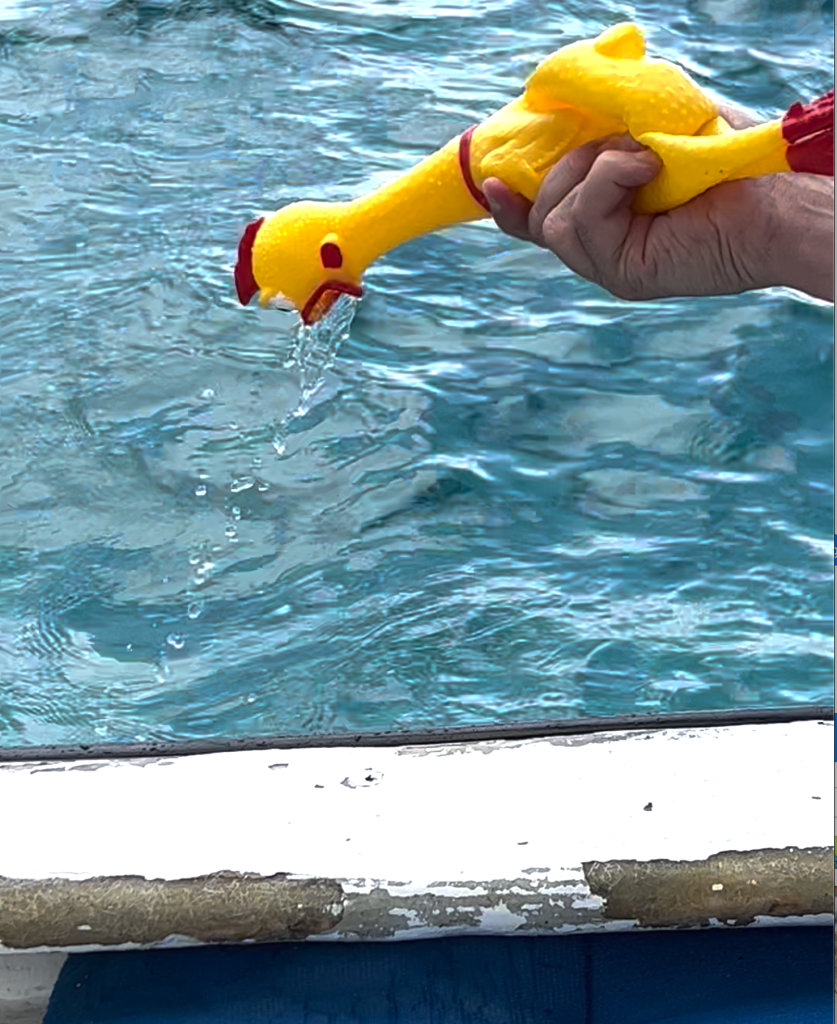
Uh oh! Birdee might have had too much fun. She sure got seasick… Poor thing. 
Ohmygoodness! Birdee!! You naughty chicken! Eating some of the birthday girl’s cake. I’m sure she was just trying to celebrate with her. 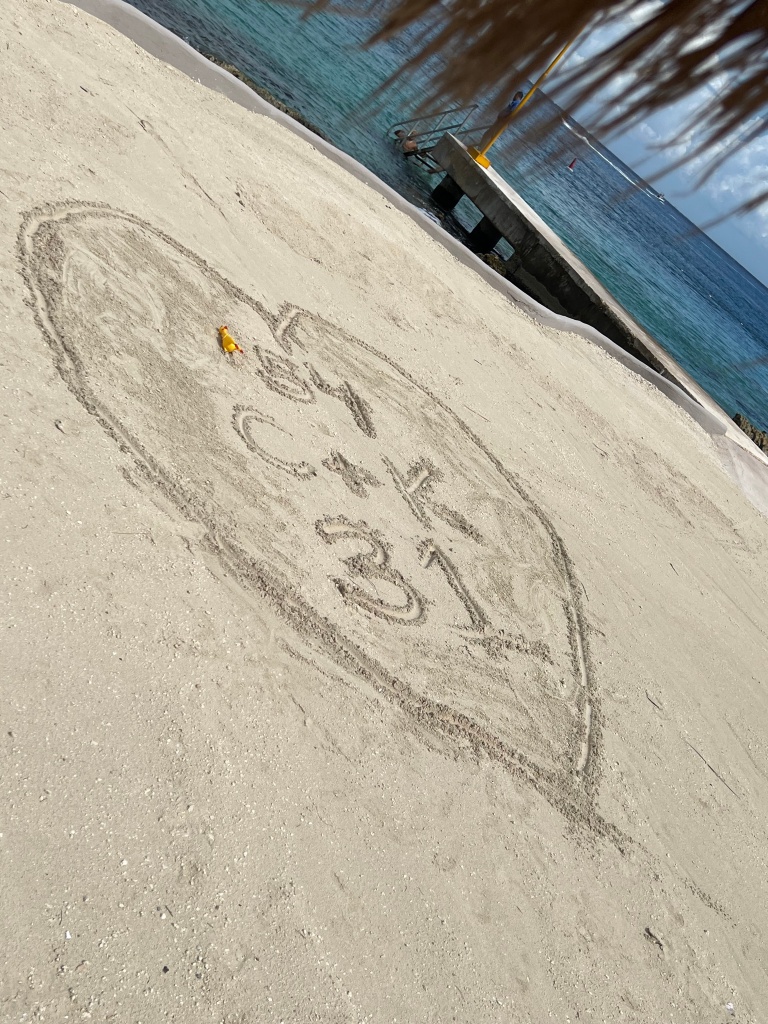
K and my tradition for our anniversary and my birthday. My sister did this for me because I can’t get to a beach this year. Love her so much!


 Let’s be honest… I’ve missed blogging and I know it’s been since before my birthday (last month) that I’ve posted anything on my blog for you to read. In my defense, the last two months have been incredibly… what’s the word I’m looking for?… trying?…no. Hectic? You could say that. Let’s throw in challenging with a bit of a MacGyver twist and super stressful at times. If you wrap all that up and include my two road trips that I took (one to Oklahoma to see my family & one to South Padre Island for my birthday/25th anniversary), I have to admit, it’s been a pretty awesome adventure.


 We really had a lot of fun and took a few goofy pictures. I was even a pirate! Argh! After ten days in Padre, it was time to go home and on the way home, the craziness began. We were north of Austin, Texas when it happened. I was reading and K was driving… thankfully. Our grill from the front of our van broke loose and flew over the hood and smacked our windshield and then continued over the top of the van. It scared us so bad. Thankfully, no one was behind us and we looked but didn’t see it land on the highway. We get home ok and called our mechanic to see what it would cost to get it replaced. $600! Are you kidding me? The thing was made mostly of plastic. K and I had the same idea… look on eBay for the part. K said he could fix it himself and I was, like, “You go Rambo…you get into that MacGyver mode!” Sure enough, it cost us a total of $200 and K attached it with no problems! YAY K!